
Last weekend the sun was shining (thank you Lord!) and it was starting to feel like Spring here in the South. So I got my sewing machine out and made this sweet little head wrap!

I had been on Pinterest and was inspired by this blog's tutorial on making a headwrap. She has two other really cute headwrap styles with how-to's, so be sure to check it out too!
I've had this beautiful fabric for awhile and am so happy I've finally found a use for it! I started out ironing it flat, since it had been in my fabric stash for a long time.

Measure the size of your head and double it. This will be the length of the fabric. Mine was about 22 inches. Use whatever width you want. Mine was about 6 inches wide, but you could make it longer if you wanted a thicker band.
(Also, I would recommend a stretchy fabric because mine doesn't stretch and is a bit tight. It would be more comfortable to wear if it stretched a bit.)

Now fold your fabric like a hotdog and pin, right sides together.

Sew along over the pins. Flip it right side out. Then sew the ends together. I turned under the raw edges and just top-stitched. It should now be a tube, like this:
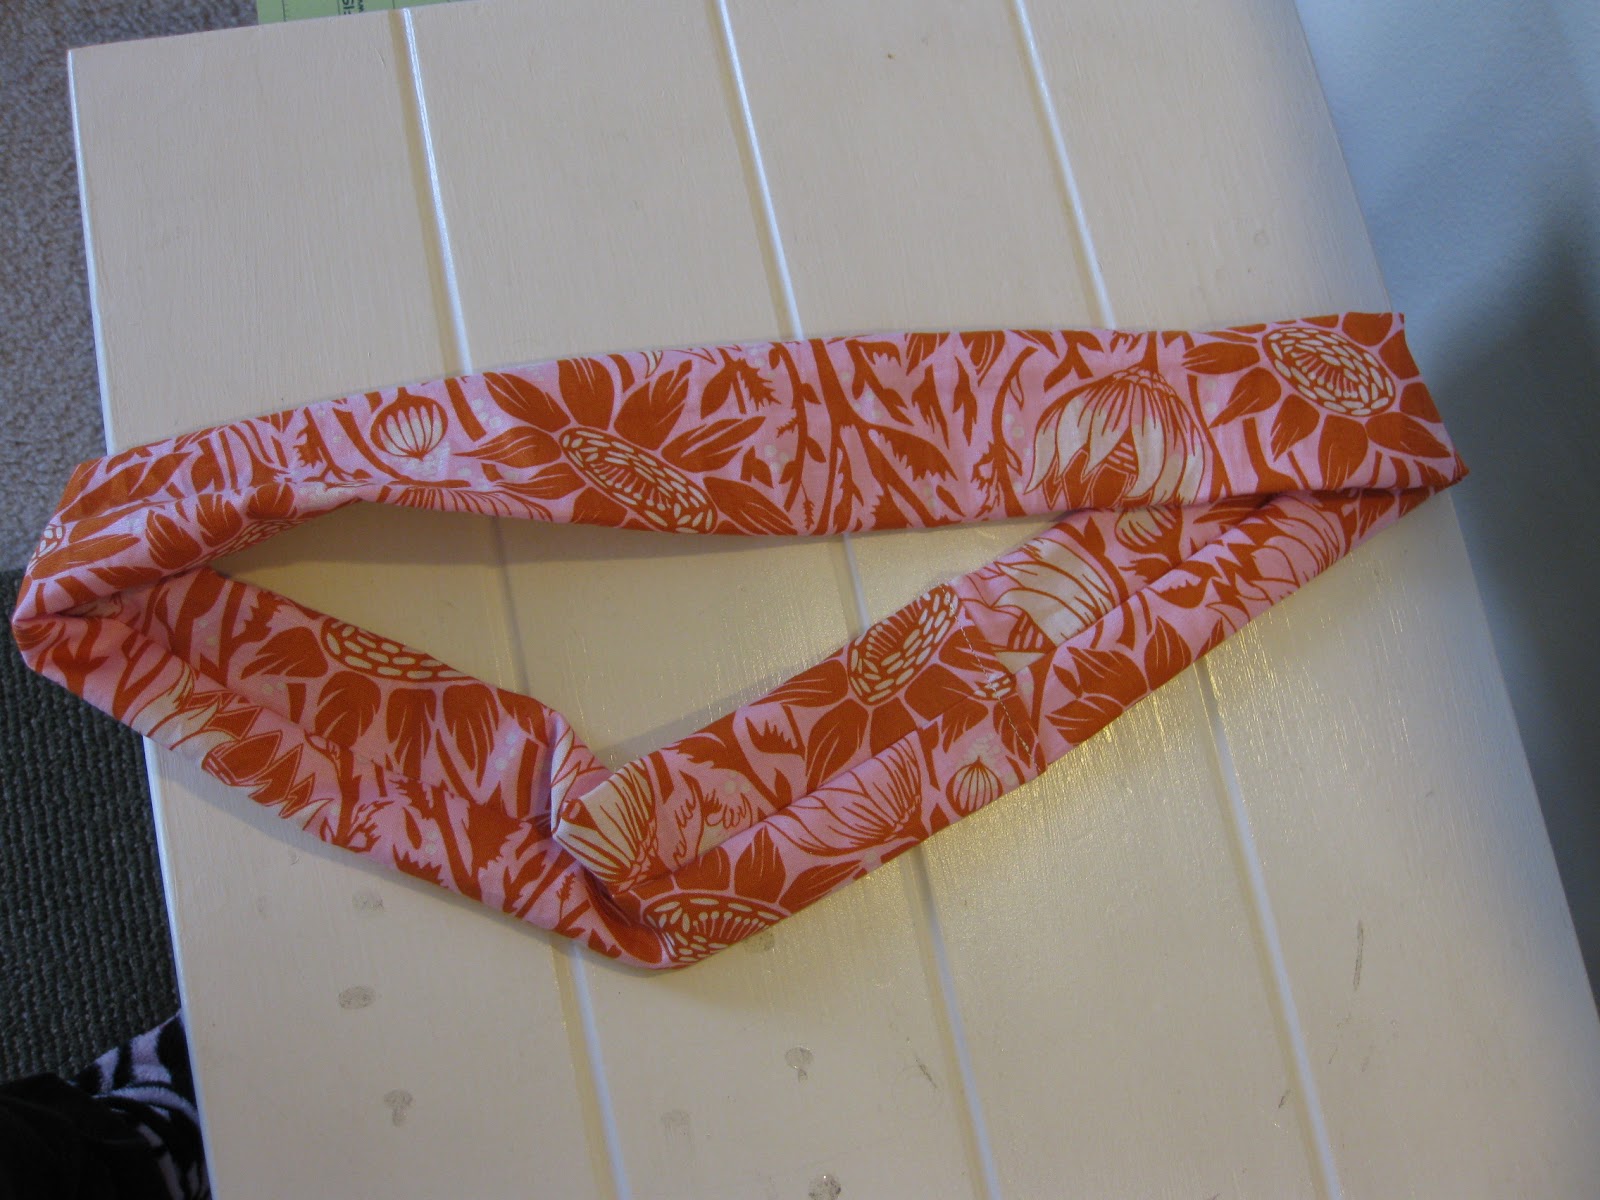
Fold the tube in half so it lays flat, with the seam in the middle on the top.

Now twist once...

...and twist again.

Now here is the sort of confusing part. Open up the two ends slightly with your hands and slip one end inside the other end.

Open your hands to pull tight and you will see the "twist". I had to try it a few times before I figured it out.

After you've pulled it tight you have a fun Spring headwrap! Enjoy!

Today I'm joining the link party on homemadeginger.com. Check it out, she has a wonderful blog!

This is so cute! I would totally buy one from you! Miss you!
ReplyDeleteThanks girl! maybe I should start an Etsy shop? :)
Delete