
I FINALLY finished painting my big antique window! I bought two windows at a craft show last summer. Here is what the big window looked like before:
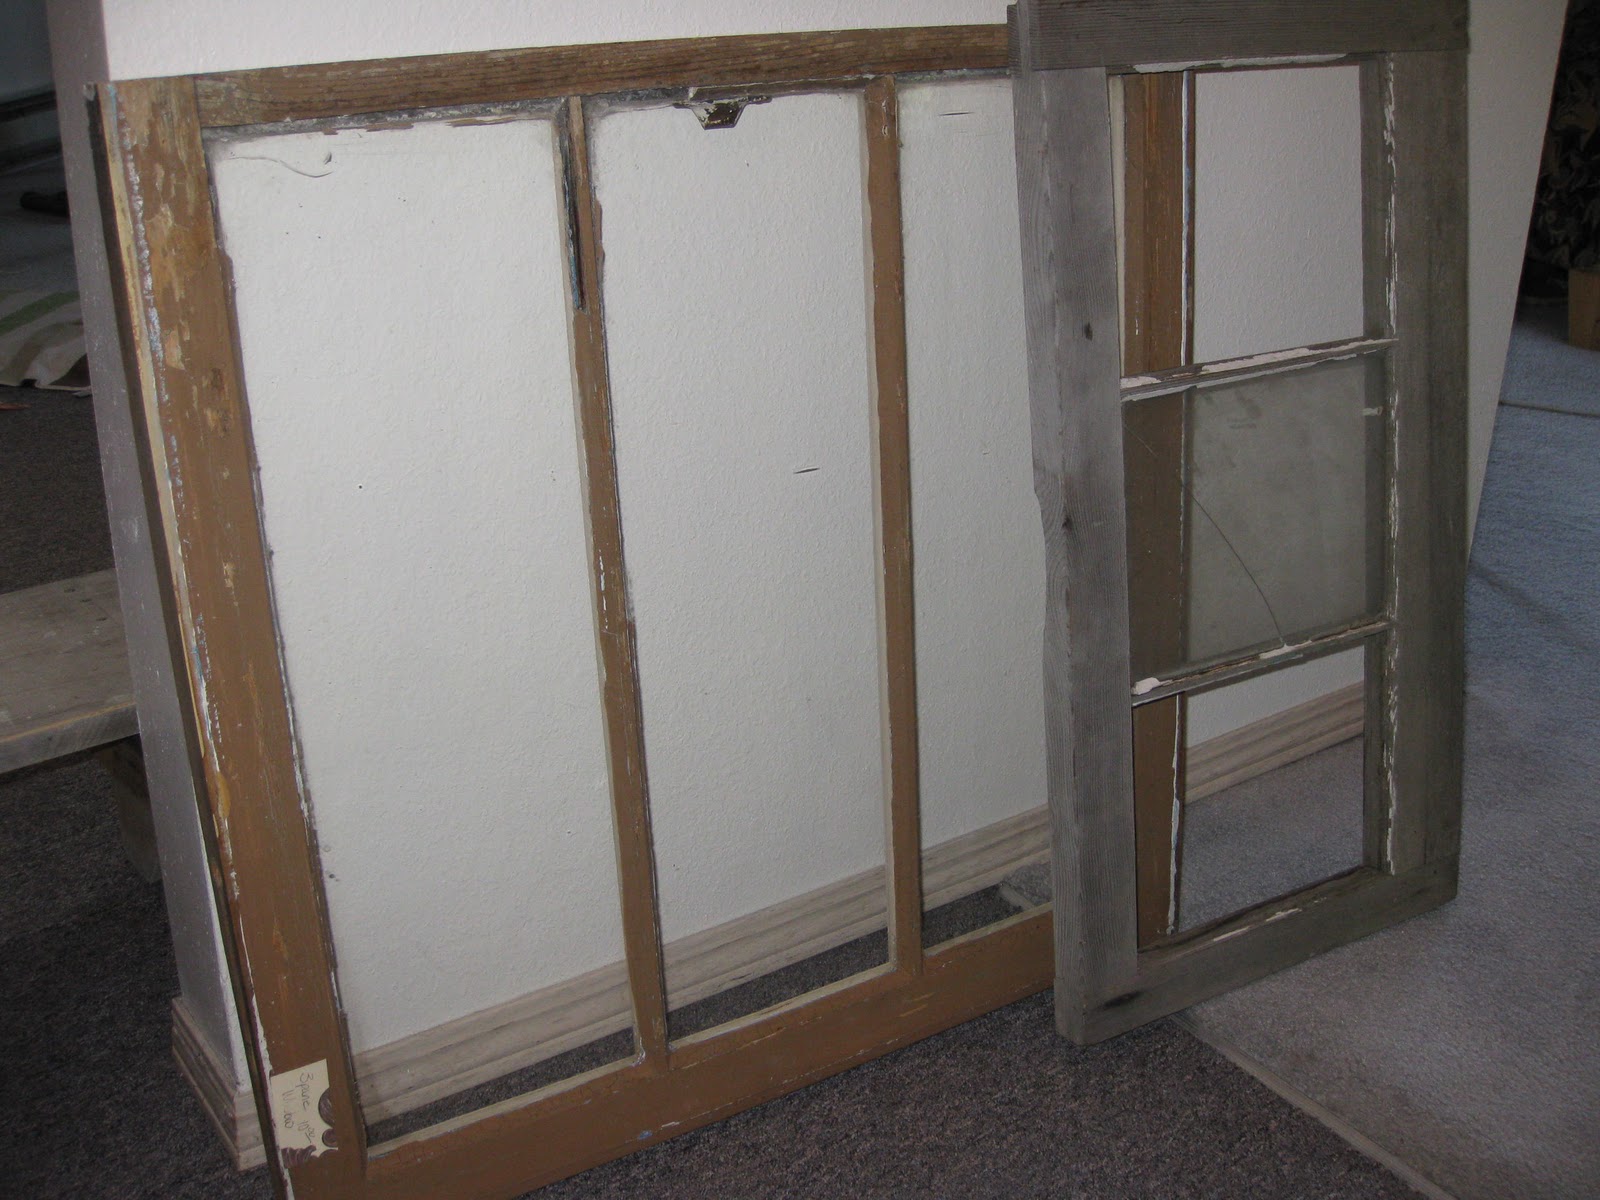
Here is the other side:

The backside of the window had parts of the molding worn away, and I didn't want the glass falling out, so I put some calking to help keep the window sturdy.

(I have not painted the backside, but I don't think it's necessary!)

So the first thing I did was tape up the glass. And yes, those nursing school books came in handy for something! Ha. :)

Then I painted the frame in a beautiful shade of red.
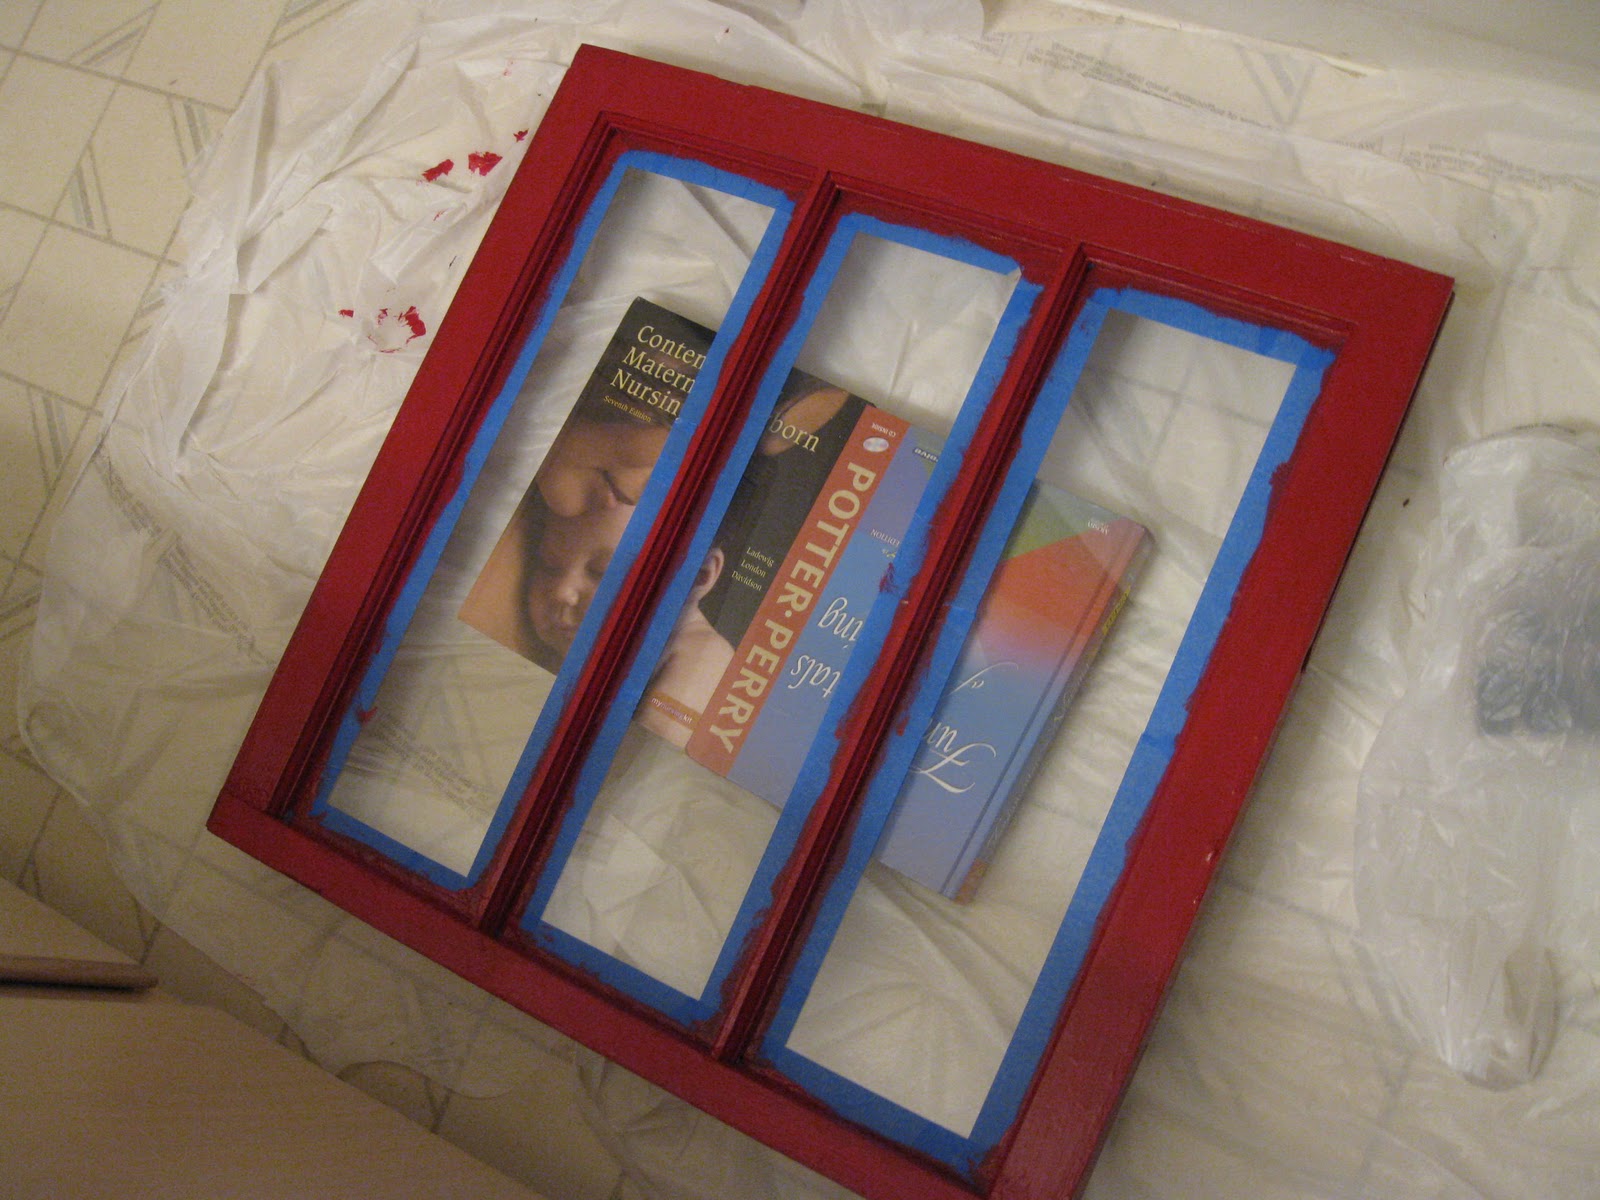
Once the red was dry completely, I put another coat on. Then I let the 2nd coat dry completely (this whole project took me about 4 days).
I wanted the frame to look a bit rustic, so I bought some Antique Glazing from Valspar at Lowe's. I thought it turned out pretty cool looking. This stuff is a bit tricky because you apply it (and it's black) then wipe some of it off lightly with a rag. Here is how the glazing turned out:

When the glazing was completely dry I taped the edges and finally put a coat of chalkboard paint on the window!

Here it is drying!!!

And here it is finished! I thought it was finished, but I realized that in the sun you can see through parts of the chalkboard paint, which means I'll have to put another coat of chalkboard paint on before I write on it.

But for now, this is what it looks like! :)

I just had to use it for Thanksgiving when all of our friends and family came over. The chalk tore part of the chalkboard paint, so I will have to give it at least one more coat of chalkboard paint.

But I still think it's cool!
No comments:
Post a Comment